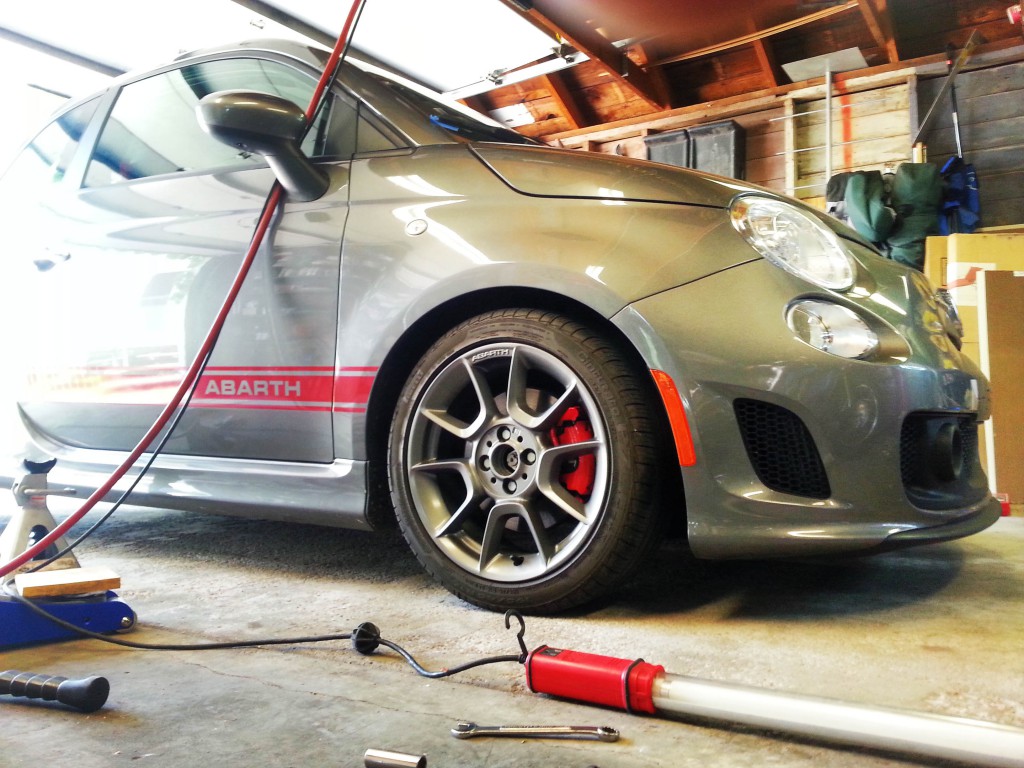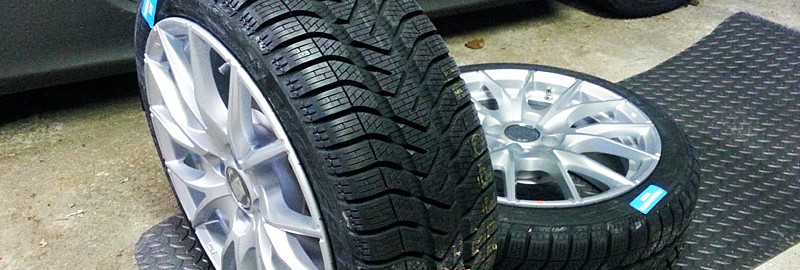
After last year’s beyond terrible winter performance from the stock Pirelli P7’s, I knew I wanted some true snow tires before the flakes came down this year. For ease of swapping over from Summer to Winter, I opted to have the 195/45R-16 Pirelli Winter Snowcontrol Serie 3 tires mounted on a separate set of silver 16×7 MSW Type 25 wheels.
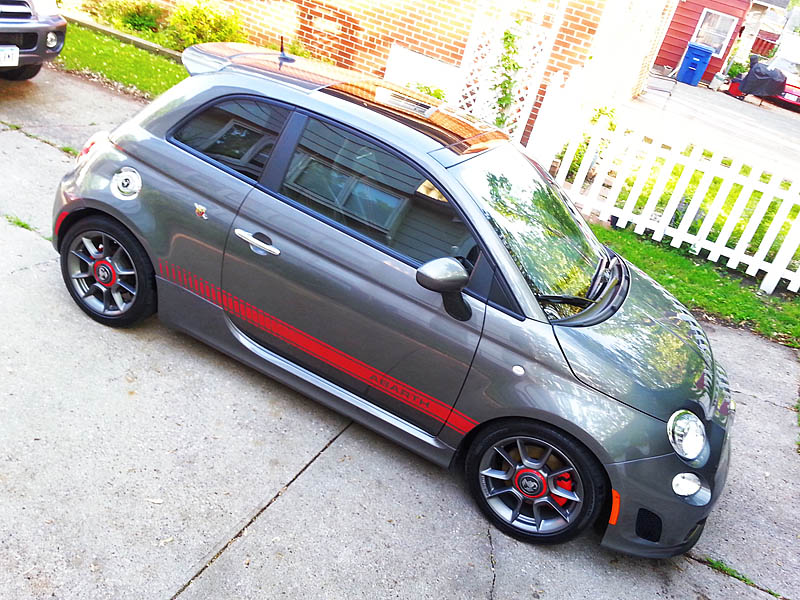
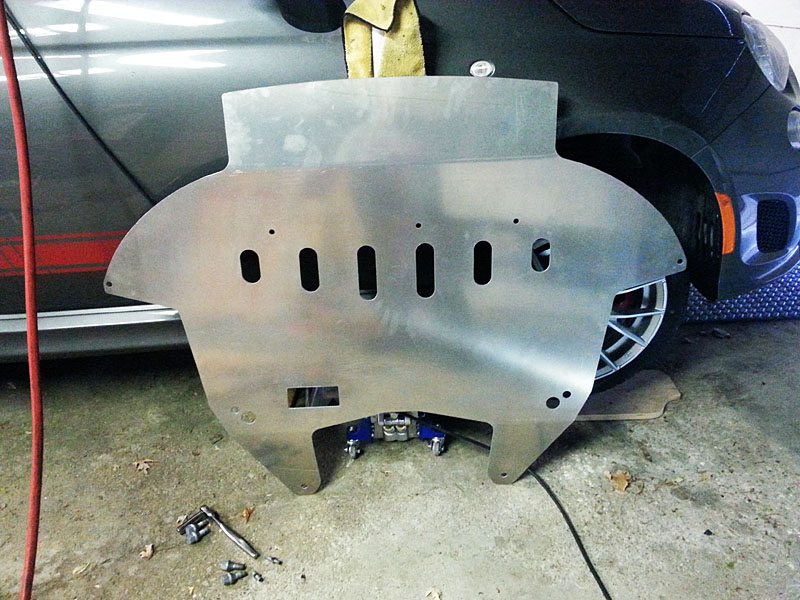
To complete the winter trim, I also installed the R3T skidplate to help protect things, since the car is sitting even lower than last winter. I’m sure this all means it’s never going to snow ever again. Thank me later.
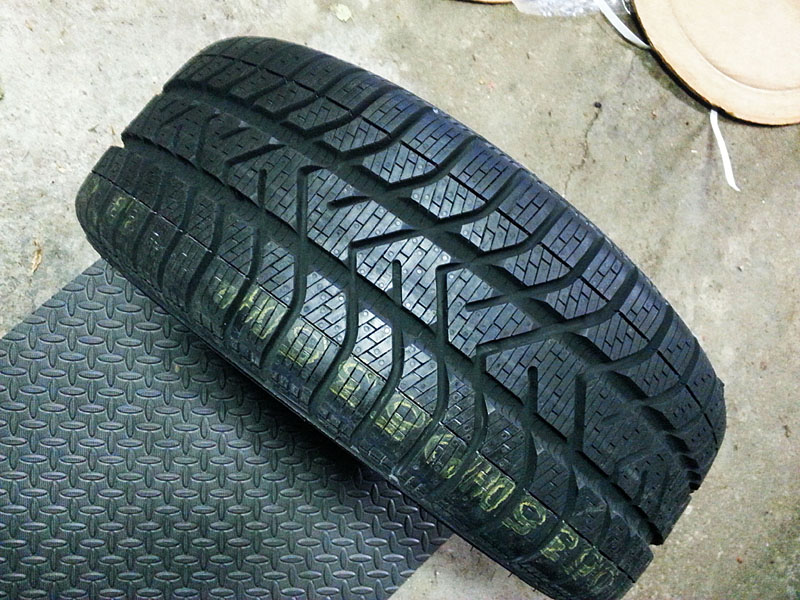
195/45R-16 Pirelli Winter Snowcontrol Serie 3
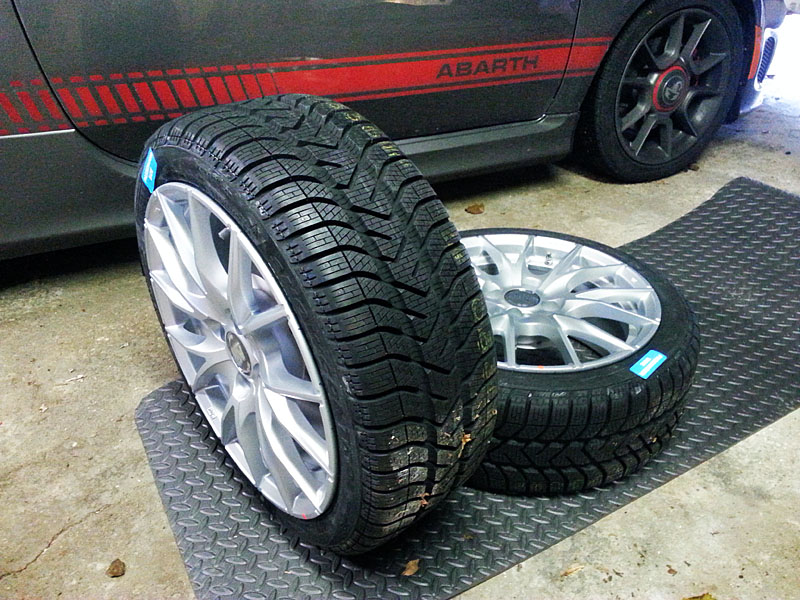
195/45R-16 Pirelli Winter Snowcontrol Serie 3 on MSW Type 25 Wheels
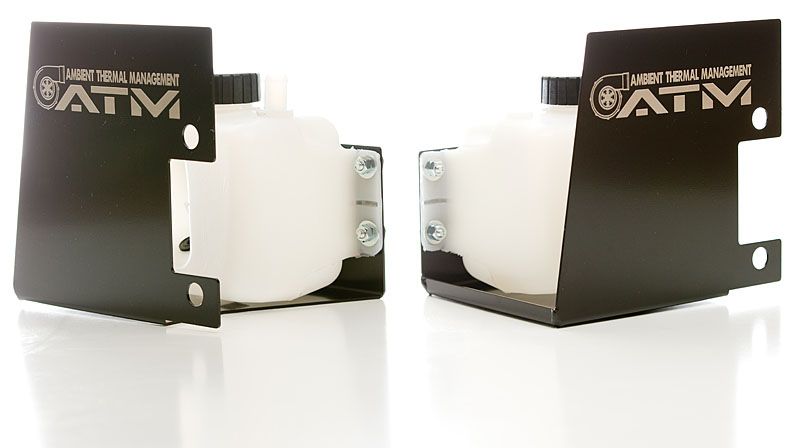
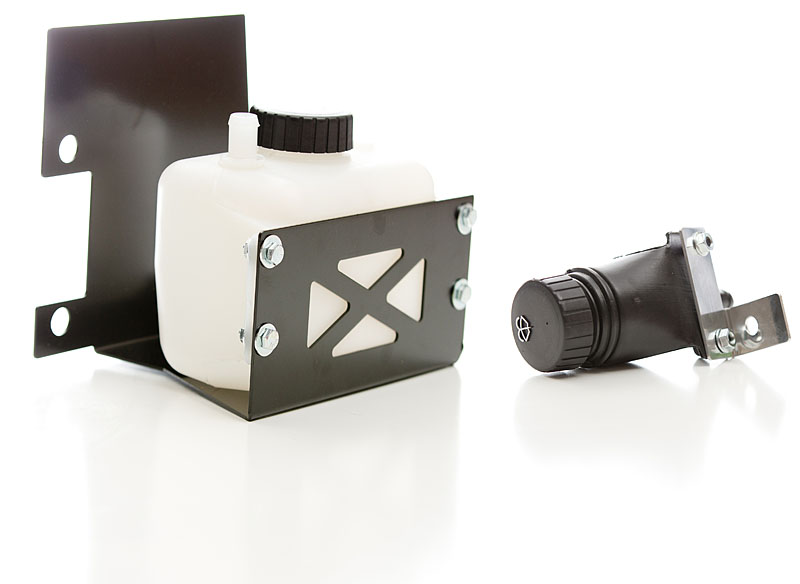
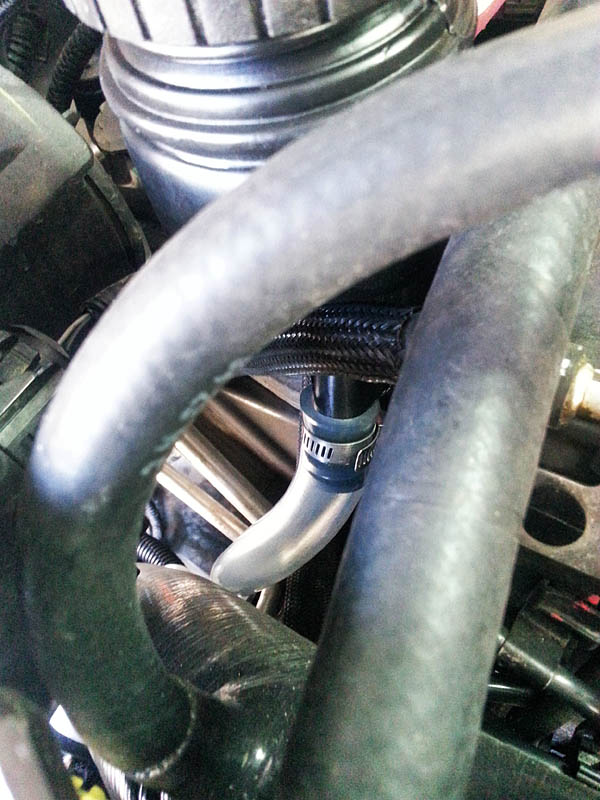
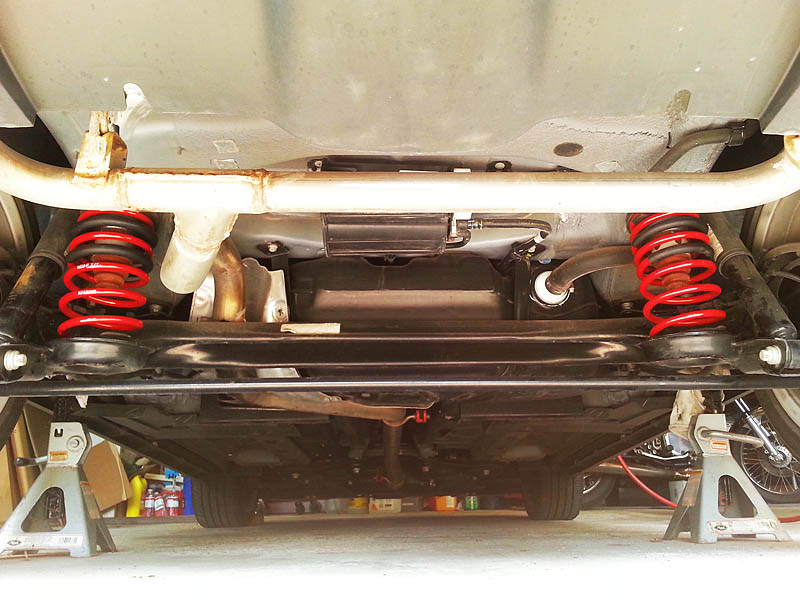
R3T Skid Plate Underside
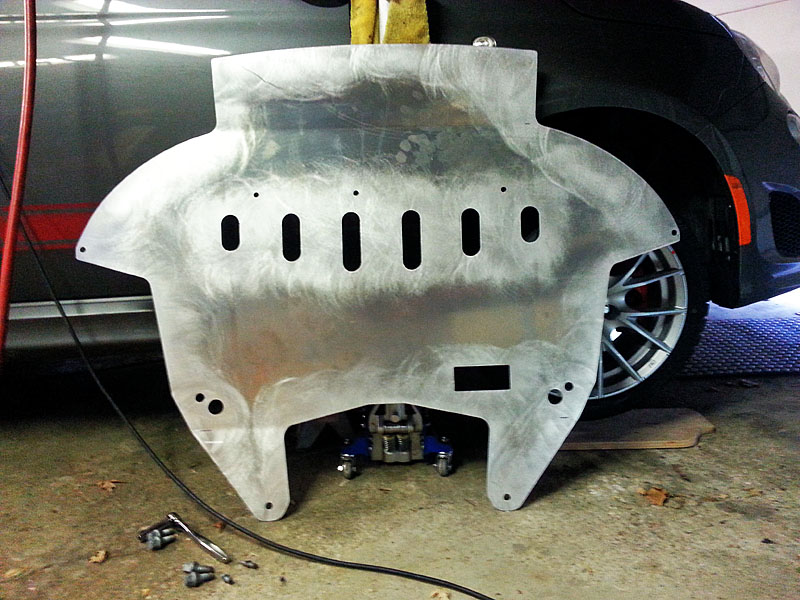
R3T Skid Plate Top
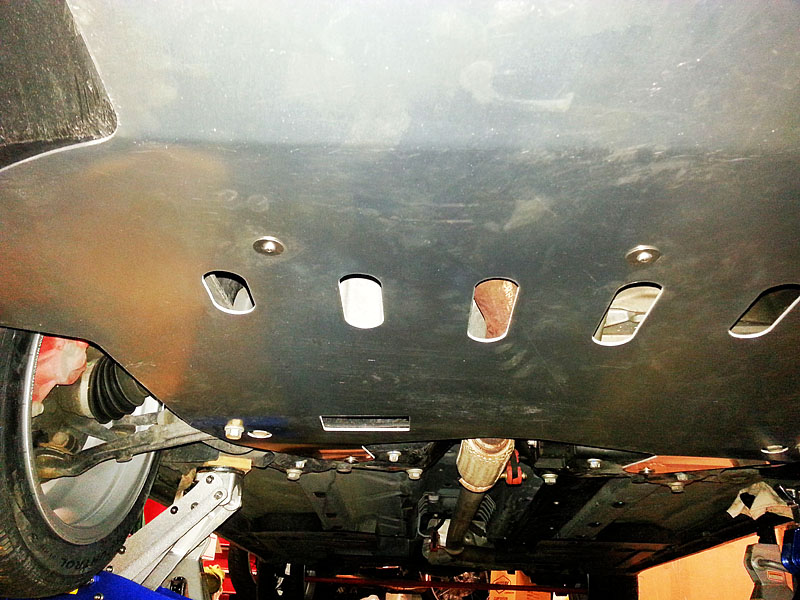
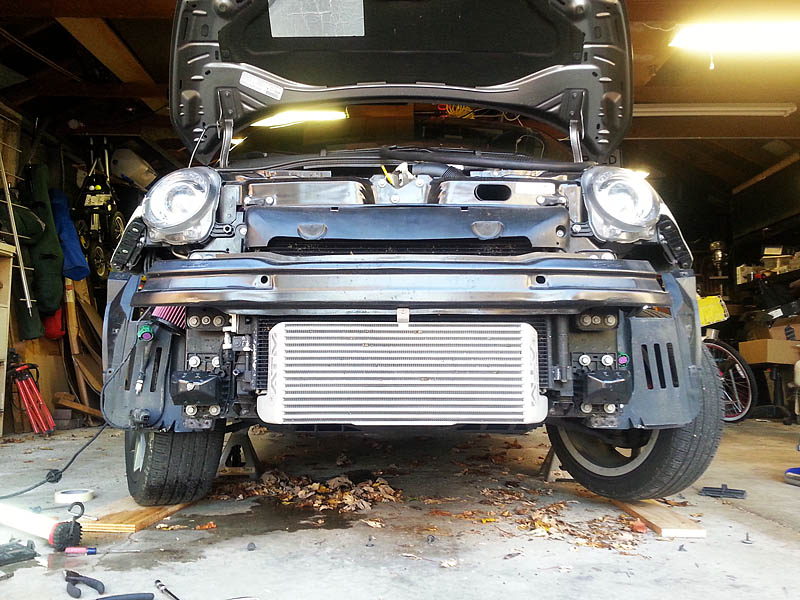
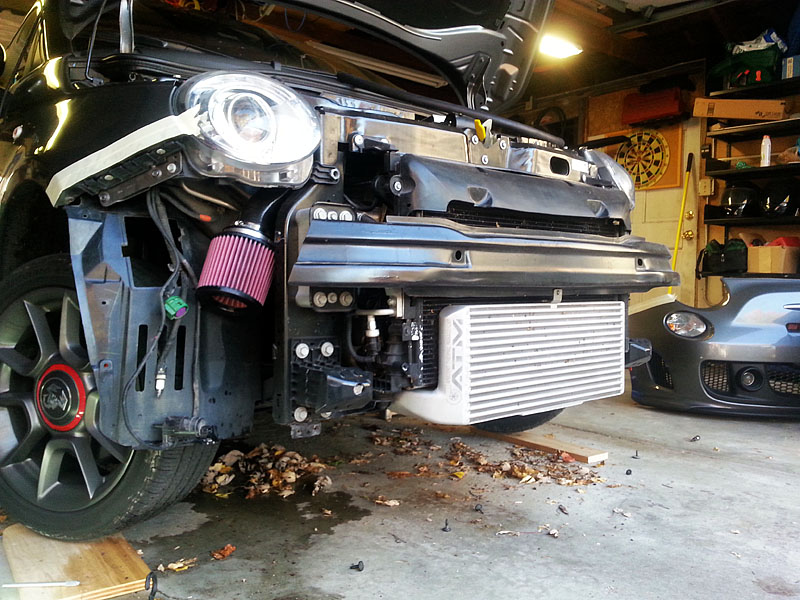
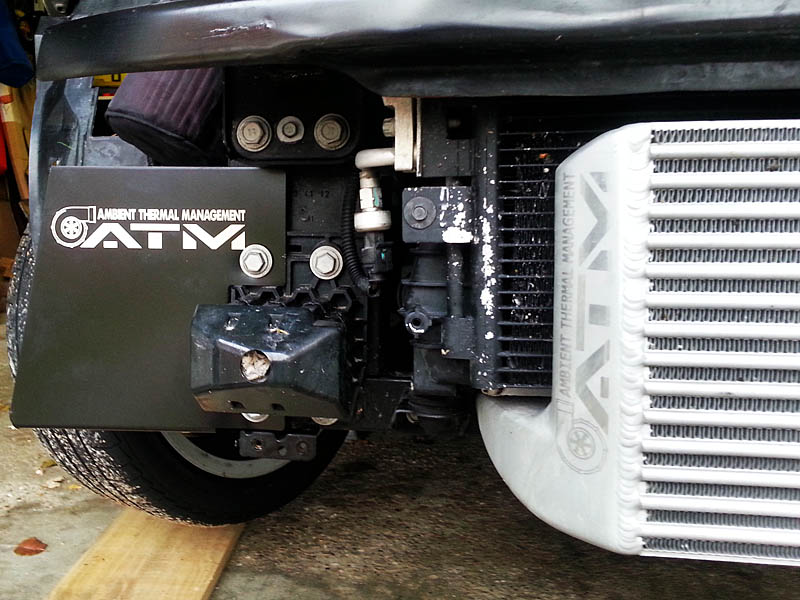
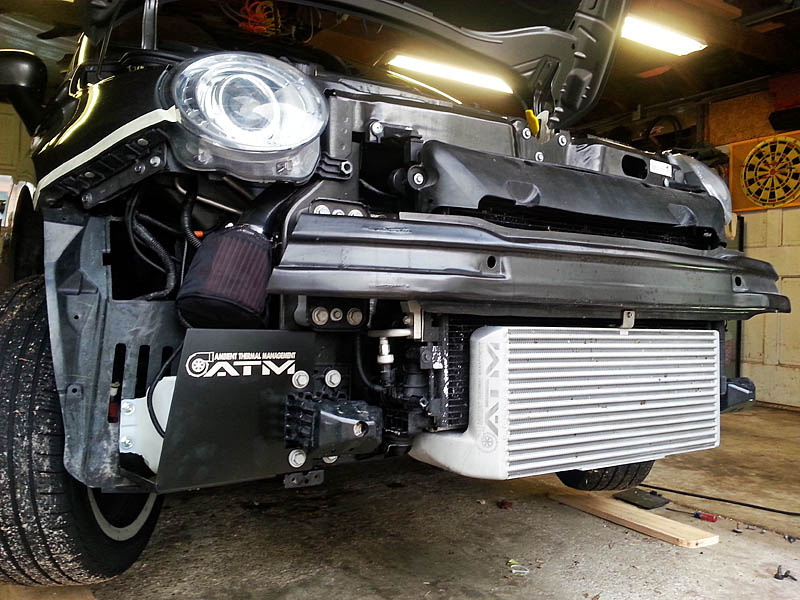
R3T Skid Plate Installed
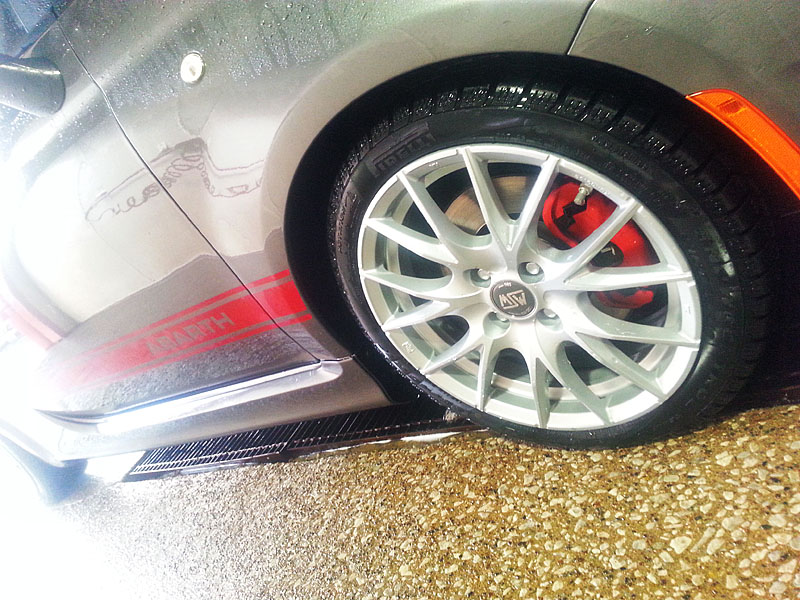
Winter wheels & tires

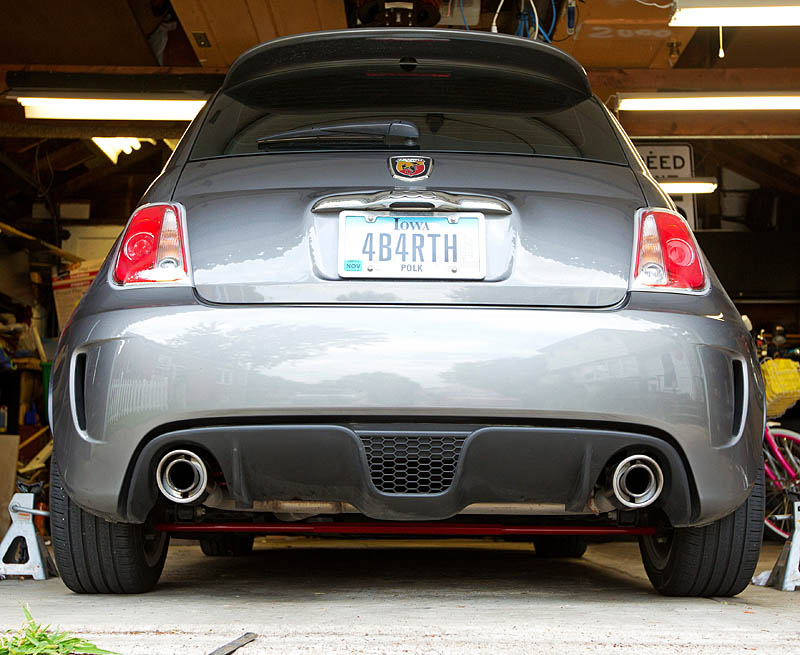
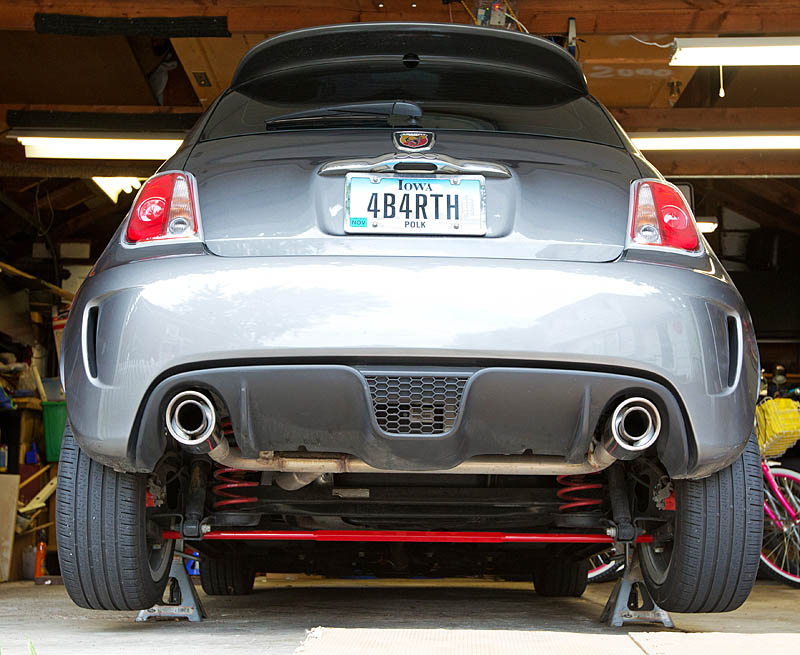
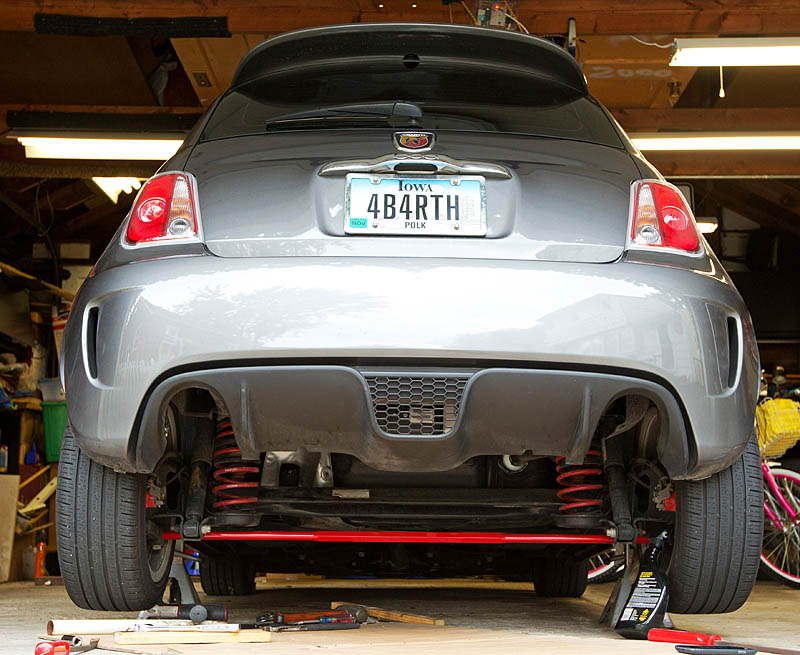
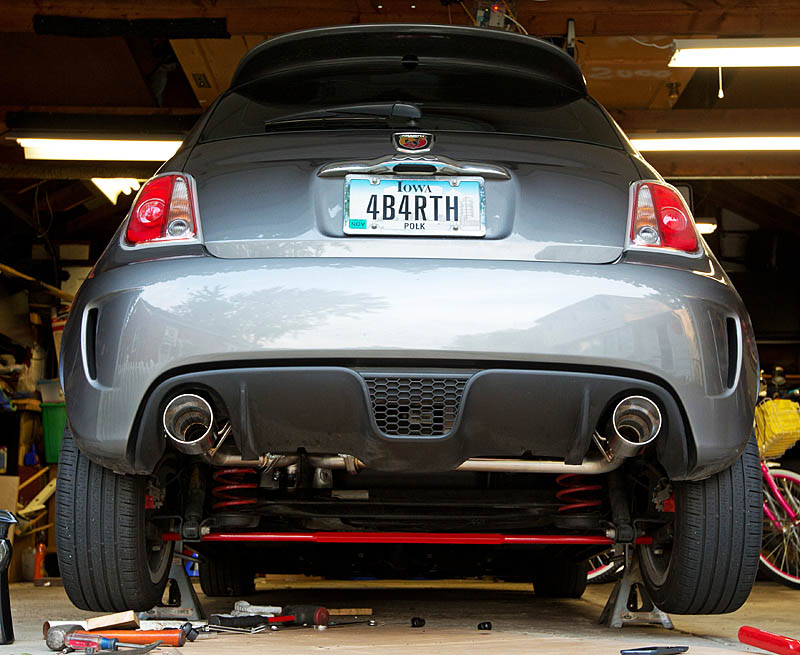
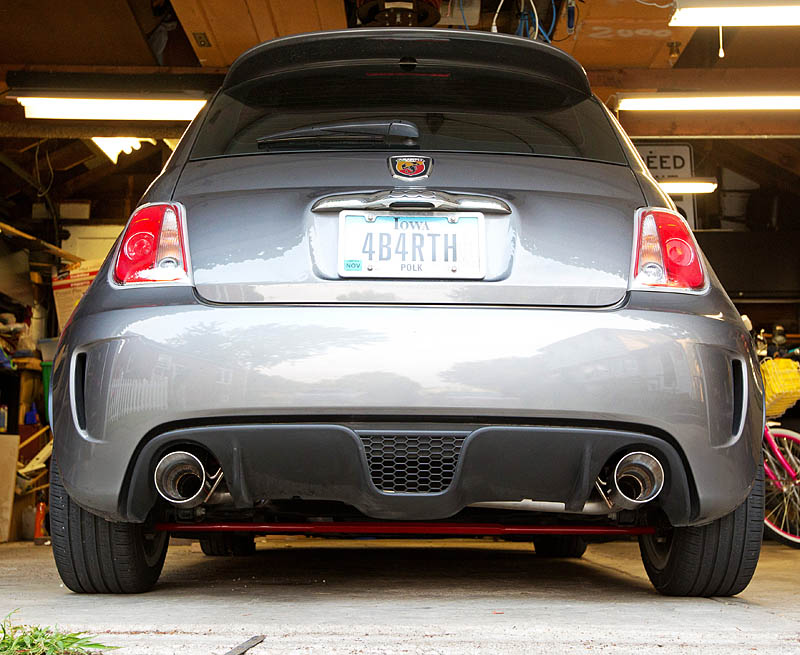
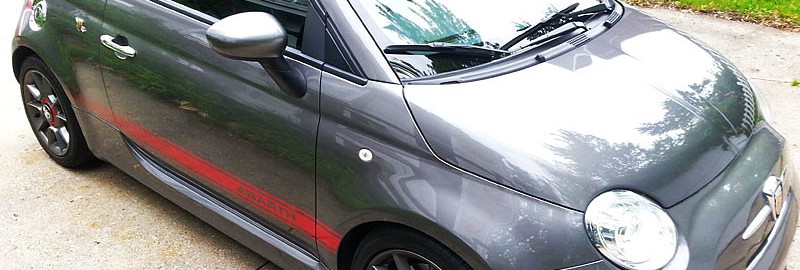
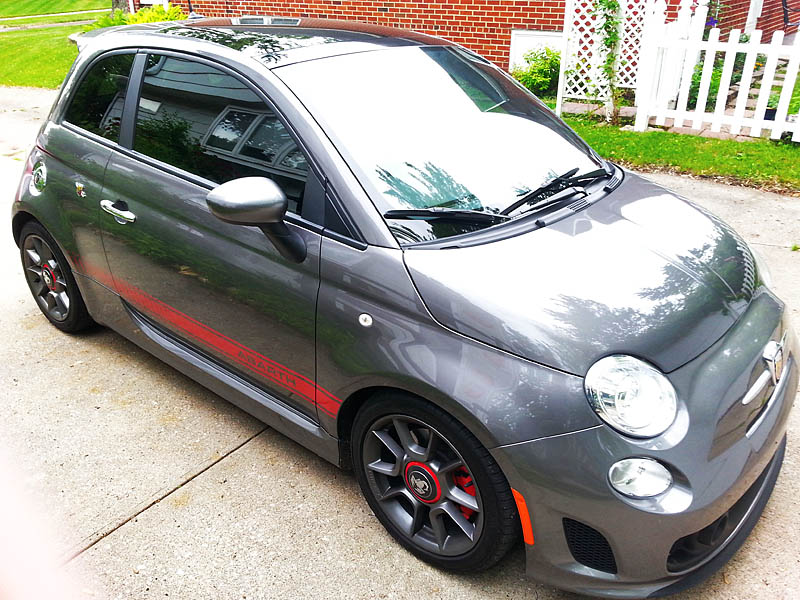
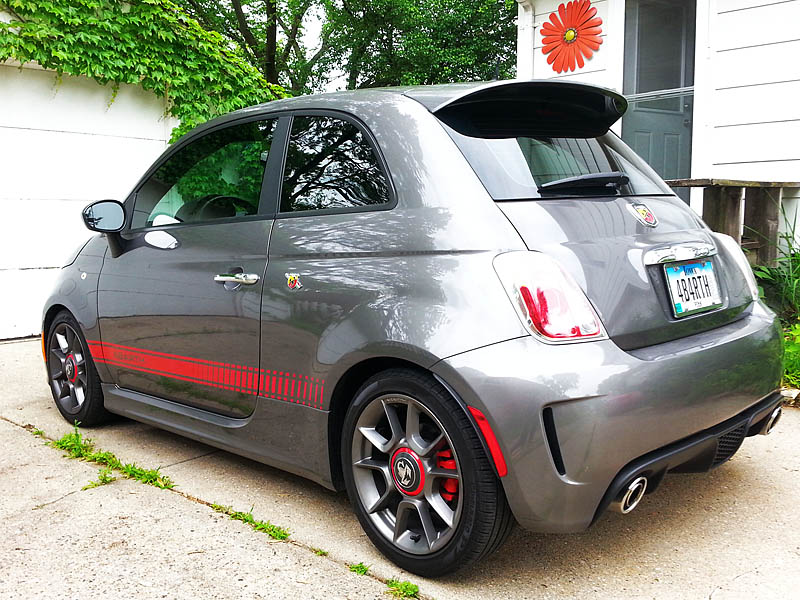
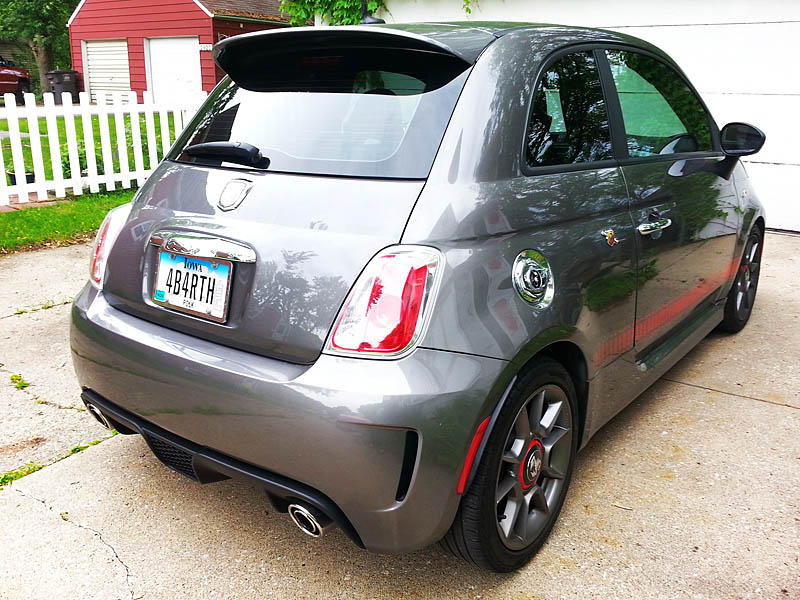
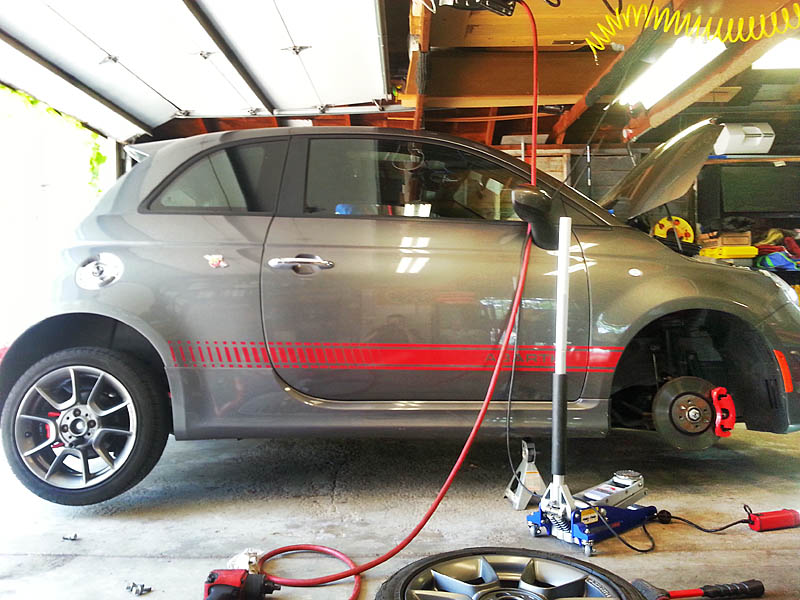
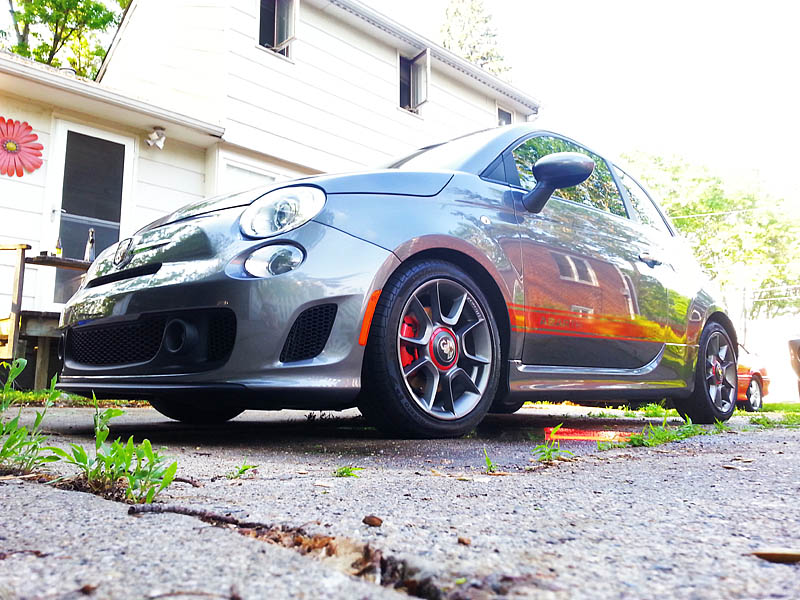
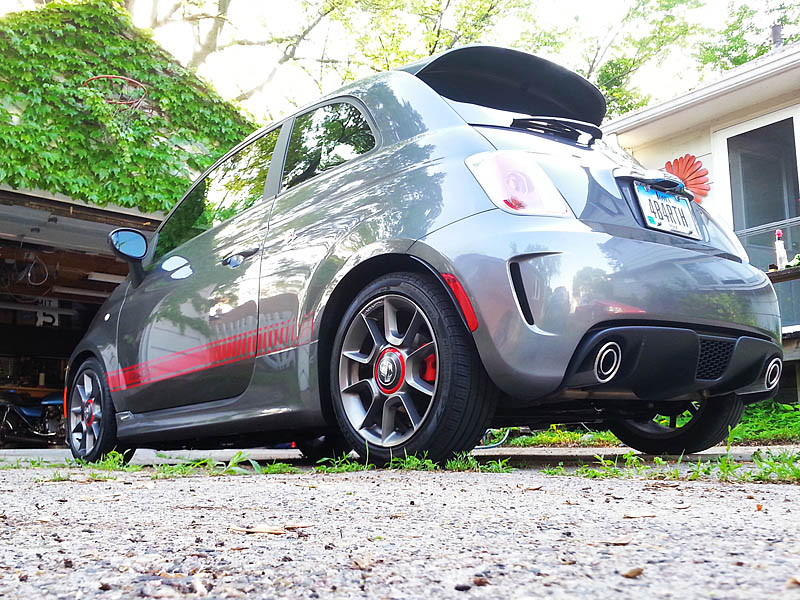
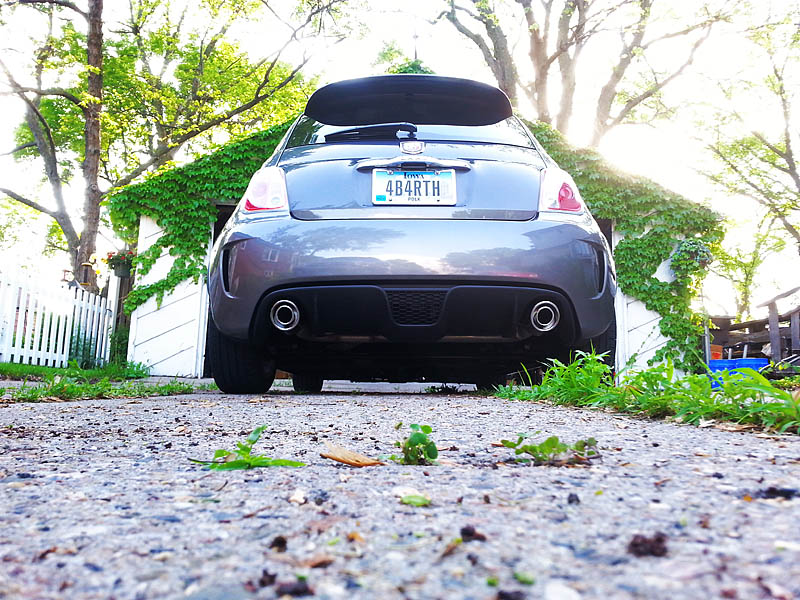
Winter Trim. Waiting for the snow

Winter Trim. Waiting for the snow
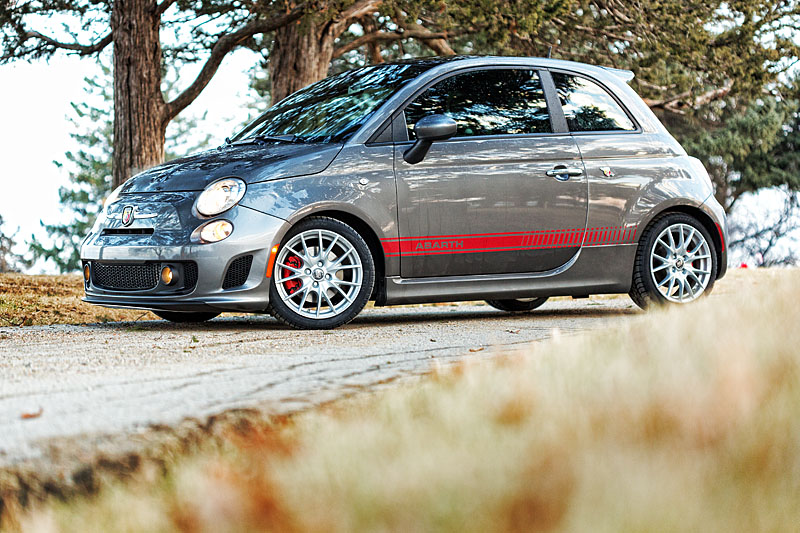
Winter Trim. Waiting for the snow
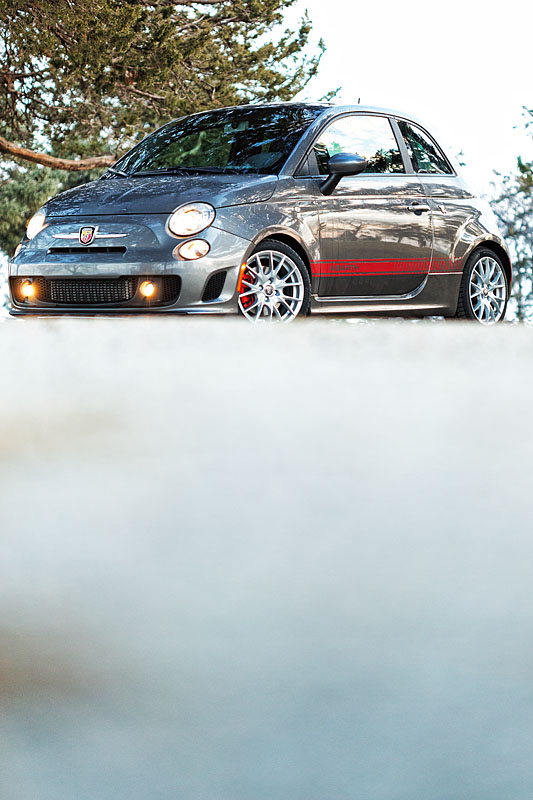
Winter Trim. Waiting for the snow